This week, here's what we've been up to in Haisley PE and Health:
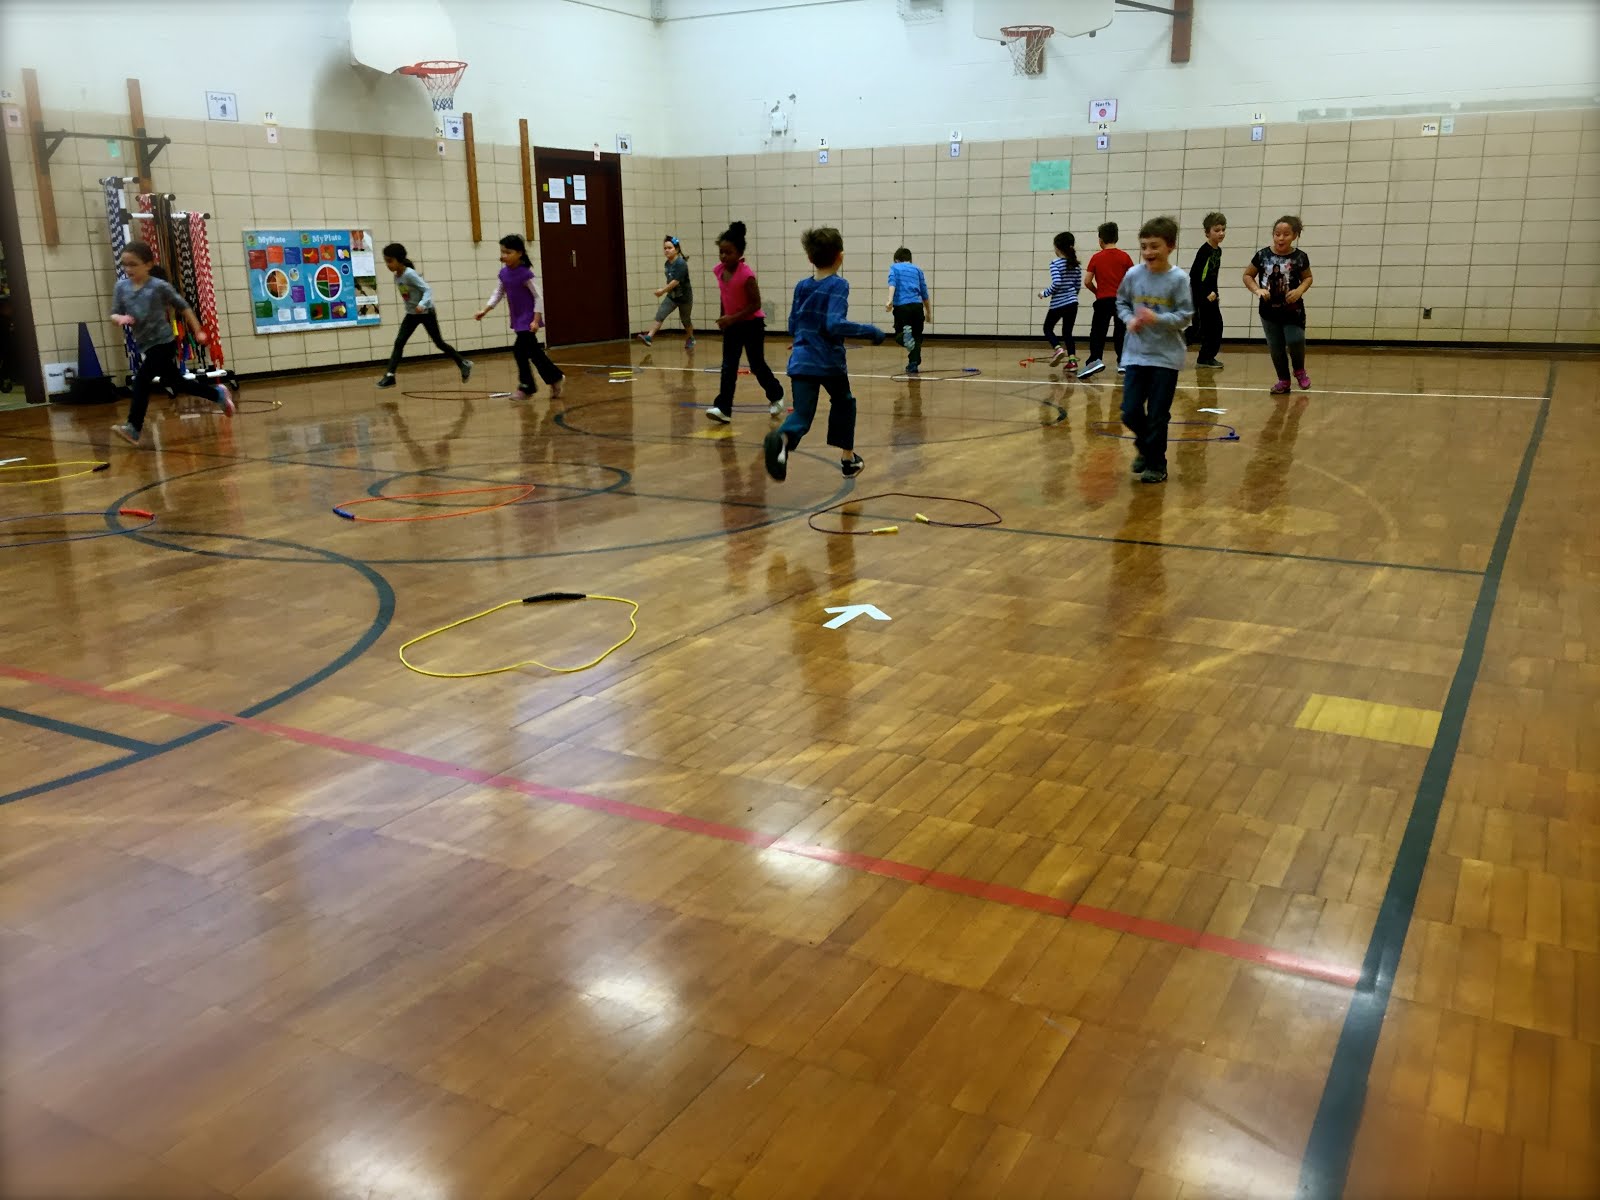
Young Fives - 2nd grade: Jump Rope Introduction. Lessons are adapted from
Ready to Use PE Activities for grades K-2 by Landy and Landy. When we do these types of lessons, I am continuously impressed with student creativity during these challenges and tasks. I encourage students, if they're thinking "This is so EASY", to try to make it challenging for themselves. Some tasks can be more challenging if done on one foot, or with eyes closed, for example. For these first jump rope lessons of the year, we use the ropes entirely on the floor. Students stretch their jump rope (a speed rope, not a beaded rope) onto the floor. Tasks include:
Intro Ropes:
- Jump over your rope back and forth (side to side). Front to back.
- Now jump zig zag side to side from one handle of your rope to the other. Repeat zig zag front to back.
- Hop side to side over your rope, front to back. Now zig zag from one handle to the other hop zig zagging.
- Pretend your rope is a tightrope. Walk forward on your rope, backward, sideways, criss-cross walk, backward criss-cross.
- Make a bridge over your rope. Move your bridge from one handle of your rope to the other. Make a new bridge, and move that bridge from one side of the rope to the other.
- Keep your hands on the floor and jump your feet over the rope and back.
 |
| Young Fives jumping over their ropes |
Circle Ropes:
- Make your rope into a circle. When the music starts, move all around the playing area following the movement directions (skip, gallop, sideways slide step, walk, leap!, etc.), staying out of the rope circles. When the music stops, find a circle and listen for directions. Directions included:
- make your body as small as you can
- make your body as big as you can
- make a one foot balance in side the circle, tall balance, low balance
- make a happy statue (or other feelings/emotions: scary, sad, silly, etc.)
- build a bridge across your circle
- Put half of your body inside the circle and half outside
- Put one hand inside the circle and your legs outside. Move your legs all the way around the circle, like a clock or coffee grinder. Switch hands, switch directions.
- Balance with different numbers of body parts inside/outside the circle. Example: balance with four parts touching outside the circle and two parts inside the circle. Students might, for this one, choose to place knees and toes outside the circle, and hands touching the floor inside the circle. Any combination where the appropriate number of body parts are touching inside/outside the circle is acceptable. Creativity is encouraged and applauded with these challenges!
- Start in the center of your circle. How can you move in and out of your rope? Think about directions: forward, backward, sideways. Two feet together (jumping), one foot (hopping), one foot to the other foot (leaping).
 |
| Second graders leaping over circle ropes |
 |
| Second graders leaping over circle ropes |
3rd - 5th: Continue wrapping up fitness testing. When classes are finished, we have a Pins and Baskets game day, and then do basketball dribbling skills. Basketball dribbling activities included introductory activities and dribbling-specific exercises. Before starting, we discussed the main elements of dribbling: soft hands, fingertips gently pushing ball toward floor, keep the ball close to you, eyes up.
Introduction:
- Pass the ball between your hands, making a figure 8 in front and to the side of your body, ball contacting your whole hand (including your palm)
- Fingertip: now hold the ball in front and pass it only using your fingertips. Try this at a high, medium, and low level -- to the side, other side.
- Butterfly Drill: stand with feet wide. Hold the ball between your legs with one hand in front, other hand behind. Change hands and catch the ball again before it drops to the floor. Try to do this without losing control of the ball - see how many times you can do it!
- Roll the ball in a figure 8 pattern on the floor around your feet. Next, pick it up and use your hands to move the ball in a figure 8 pattern around your legs.
- Roller ball: Hold the ball at the back of your head. Let it roll down your back, catching it behind you, then bounce the ball through your legs and catch it in the front. How many times can you do this without losing control of the ball?
Dribbling:
- Dribble in one hand, other hand.
- Put one hand on your knee, dribble the ball low and fast. Switch hands.
- Dribble the ball low under your legs. Dribble around your legs.
- Dribble the ball around your body without moving your feet.
- Dribble the ball on your squad seat, and you move around the ball. Switch directions.
- Dribble the ball with one hand, and touch the floor with the other. Switch hands.
- Dribble the ball with one hand while bouncing yourself up and down on both feet (jumping). Change hands and try again. Dribble the ball from one hand to the other while jumping.
- Hold one ankle - dribble the ball with your other hand. Switch hands. Try walking.
- Stand while dribbling with one hand. Keep dribbling while you go down to one knee, other knee, then sit down criss cross applesauce. Switch the ball to the other hand and go back to knees and then to standing.
- Hello, class! Dribble the ball with your left hand, walking around the playing area. Shake hands with as many players as you can. Greet players by name, and keep control of the ball. Switch hands.
 |
| Fourth graders jumping while dribbling |
 |
| Hello, class! 4th graders shaking hands while dribbling. |
 |
| 4th graders holding their ankles while walking and dribbling. |
 |
| 4th graders shaking hands and dribbling. |
 |
| 4th graders: working hard at dribbling! |
 |
| 5th graders jumping and dribbling the ball |
1st Grade Health: The 3 Ds of Telling.
In kindergarten health classes, students were introduced to the 2 Ds of telling: Dangerous and Destructive. They learned, last year, that if something is dangerous (someone could be hurt or killed) or destructive (someone's possessions could be damaged, ruined, or stolen), they should tell an adult right away. In first grade, the Michigan Model for Health curriculum adds a third D for telling: Disturbing. Disturbing, we learned, means that something just doesn't feel right, and might make us feel scared or worried. It might give us an "uh-oh" feeling in our body. It might be something that is unsafe or breaks rules or laws, or something that makes us feel scared or very worried. We read situations as a class and discussed which D the situations were and what the person should do. We learned that many situations aren't just dangerous, destructive, or disturbing -- they're a combination of more than one of those elements.
We also discussed the important differences between tattling and reporting. Tattling is done to get someone in trouble. Reporting is done to help in a situation that is Dangerous, Destructive, and/or Disturbing -- more serious than little things we could ignore or maybe solve on our own. We talked about how if they're not sure, they should tell an adult. It's better to tell when maybe it's not needed than to NOT tell when something is serious.
Next week, our health lesson will include getting help in an emergency, including how and why to call 911.